1. Download/Install/Update
1.1 Download and Install
Step 1. Download the DVDNextCopy installer
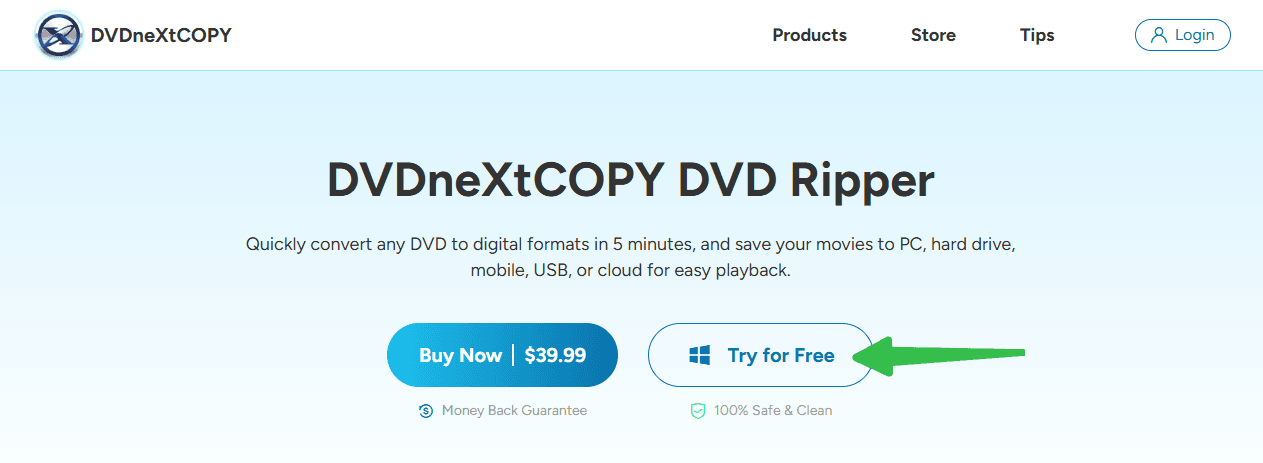
Visit any DVDneXtCOPY product page and click the "Try for Free" icon to download the installer. The installer will provide access to all available DVDneXtCOPY products, allowing you to enjoy the full set of features in one program. Here we will use the DVD Ripper product page as an example.
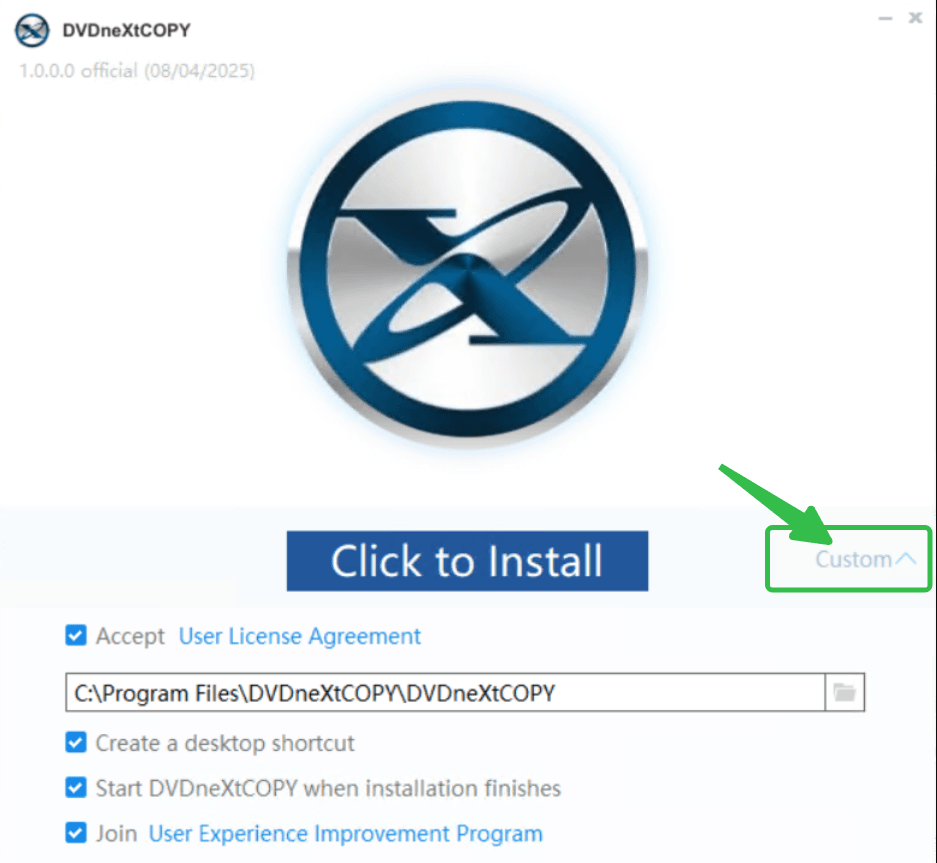
Step 2. Run the Installer
Double-click on the installer to complete the installation process.
If you do not want it installed on the default drive C, click "Custom" to change the installation path.
Step 3. Wait for the Installation Process to Complete
The DVDneXtCOPY installer is less than 5 MB. After you click to install it, it will start downloading the setup files and automatically complete the installation process. It will be completed in a few minutes.
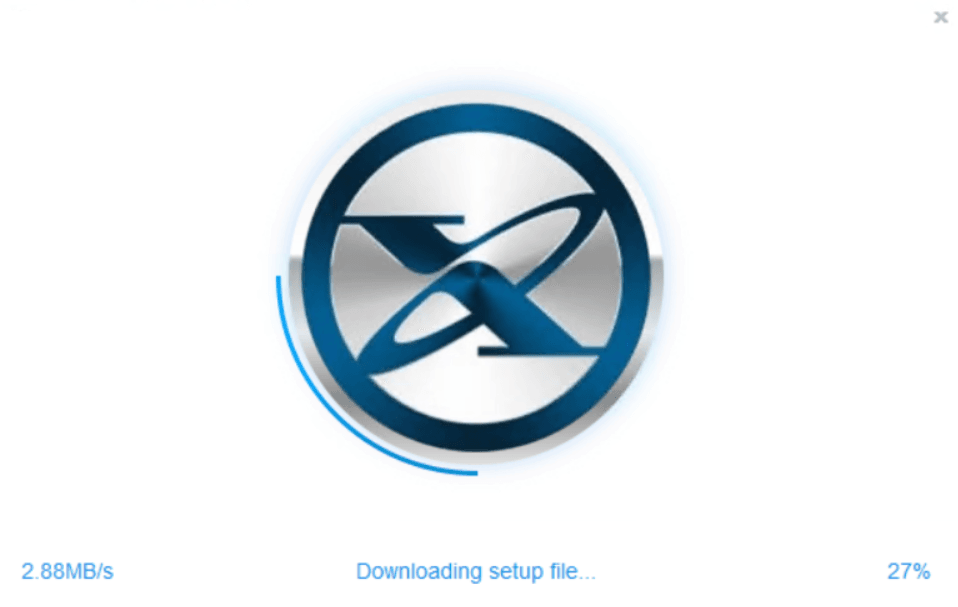
Note: Network speed could affect the time it takes.
Once the installation completes, you will get a shortcut named "DVDneXtCOPY" on your desktop. Double-click on it, and you can start using it.
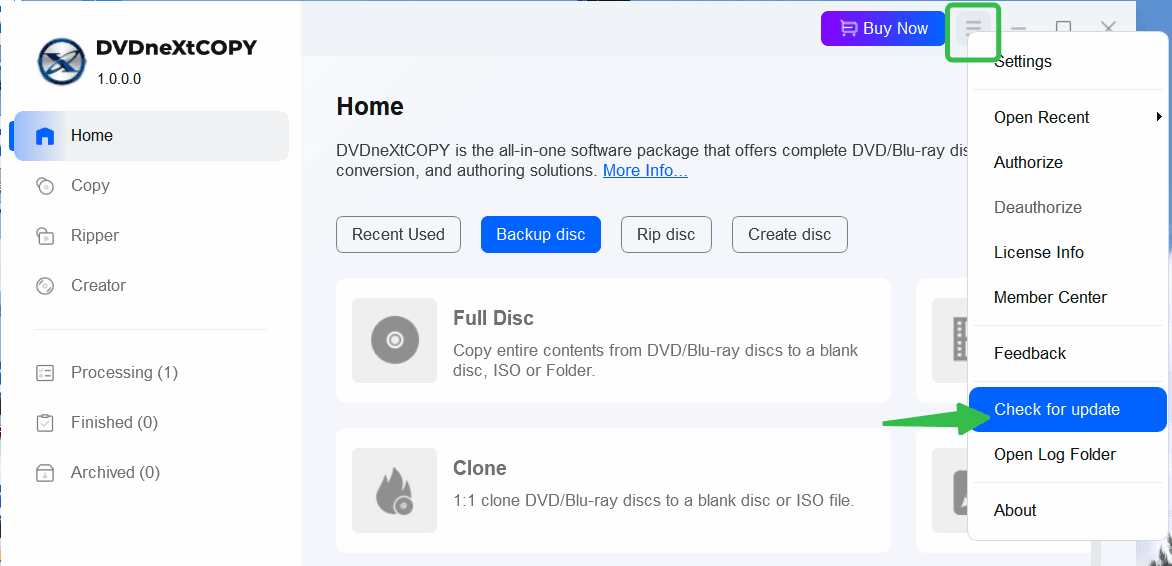
1.2 Update to the Latest Version
When running DVDneXtCOPY, you will be notified if a new version is available. Follow the wizard on the screen to install the updates. You can also manually check for a new update.
Note: This requires a vivid network to function normally.