 DVDneXtCOPY DVD Creator
How to Burn a DVD on Windows 10: 2026 Tested Ways

Summary: A Windows 10 burn can be a data disc or a playable video DVD, and the required software changes with that choice. This guide compares five methods, gives step-by-step authoring and built-in options, and fixes common playback failures.
If a DVD burned on Windows 10 works on the computer but not in a set-top player, it was probably written as a data DVD. To burn a DVD on Windows 10 that behaves like a movie disc, create a playable video DVD with authoring software.
I burned a family video to DVD on my Windows 10 PC, moved the disc to a set-top player, and got a black screen with a ‘No Disc’ error. That result points to the disc format or finalization, not necessarily a bad video file.
Most readers searching how to burn a DVD movie on Windows 10 need authoring, not simple file storage. The five methods below cover paid and free authoring tools, two built-in data-disc options, and the checks that make a finished disc easier to play.
Data DVD vs Video DVD: Which You Actually Need
A data DVD stores files. A playable video DVD converts video into the DVD-Video structure expected by set-top players. Windows 10 can burn files to a data disc, but it does not include a replacement for Windows DVD Maker, which ended after Windows 7.
- Data DVD: Stores photos, documents, music, or video in their existing file formats. It works for backup and computer access, while playback support varies among DVD players.
- Video DVD: Uses a VIDEO_TS folder containing VOB, IFO, and BUP files, with video encoded for DVD-Video playback. This is the format to choose when the disc must open in a standard set-top player.
The decision is simple: burn files to a DVD on Windows 10 for storage, or use an authoring tool when you need to burn video to DVD on Windows 10 for normal movie-style playback.
How to Burn a DVD on Windows 10 with Customized Menus
DVDneXtCOPY DVD Creator burns common video files into a playable DVD with menus on Windows 10. It writes directly to a compatible disc or saves an ISO image or DVD folder when you want to check the project before burning.
The app runs on Windows 11/10/8.1/8/7, accepts 200+ video input formats, and creates a DVD disc, ISO image, or VIDEO_TS-style DVD folder with menu, chapter, subtitle, audio, and preview controls. For menu-driven discs, this is the route I reach for because it accepts common video sources, so I rarely have to transcode a source before loading it.
Best for: Windows users who want a menu-driven, playable video DVD with visible control over chapters, subtitles, audio, and output type.
How to Burn a DVD on Windows 10 with DVDneXtCOPY DVD Creator
Step 1: Open DVDneXtCOPY and select DVD Creator, then add your video by clicking "Add" or dragging the file onto the interface.

Step 2: After loading your video, select the desired audio tracks and subtitles. You can also add external subtitles to your video.

Step 3: Use Advanced Settings to adjust output size and quality. Click Menu Settings to choose a template, then customize it by adding text widgets and changing shapes as desired.

Step 4: Choose the output directory in "Save to Part." Then, click "Start" to begin burning your DVD, with progress details provided.
How to Burn a DVD on Windows 10 with Free DVD Burners
Here are two reliable ways to burn DVDs on Windows 10 with free DVD burners: DVDStyler and BurnAware Free.
DVDStyler
DVDStyler is an open-source free DVD burning software option for creating a playable video DVD with menus. It is a better match for video playback than a basic data-disc utility, and it can also build a photo slideshow for readers who want to burn photos to DVD on Windows 10.
Best for: Free video-DVD authoring with menu templates and chapter navigation.
How to Burn a Playable DVD on Windows for Free with DVDStyler
Step 1: Click the DVDStyler icon on your screen to start the program. Open the "New project" menu and set "Video Format" to NTSC. Click "OK" to create the project.

Step 2: Choose a DVD menu template and title your project. Select the "Chapter selection" option, then click "OK" to confirm your choices.

Step 3: Drag your MP4 video file to the timeline labeled "Drag your video files from the File Browse to here." You can also right-click the timeline to add a file from your computer or attached storage.

Step 4: Insert a blank DVD into an internal or external DVD writer. Click the orange burn icon in DVDStyler, then select "Start" on the burn screen.

Step 5: Monitor the process on the "Generate DVD" screen. The "Summary" section displays the current burning progress.
Step 6: After the "Burning was successful" message appears, the completed DVD should eject from the drive. If DVDStyler asks whether to clear the cache when you close the program, click "Yes."
BurnAware Free
BurnAware Free can write photos, documents, music, and videos to CDs, DVDs, and Blu-ray Discs, including BDXL and M-Disc. It also supports boot discs, multisession discs, Audio CDs, prepared Video DVDs, ISO image management, disc copying, and data recovery.
How to Burn Video to DVD on Windows 10 Using BurnAware Free
Step 1: Click the DVD-Video icon in the main window to open the project layout.
Step 2: Choose either "Convert and burn" or "Burn VIDEO_TS." For "Burn VIDEO_TS," select a prepared VIDEO_TS folder containing VOB, BUP, and IFO files. Make sure each VOB file is under 1 GB, then click "Burn."
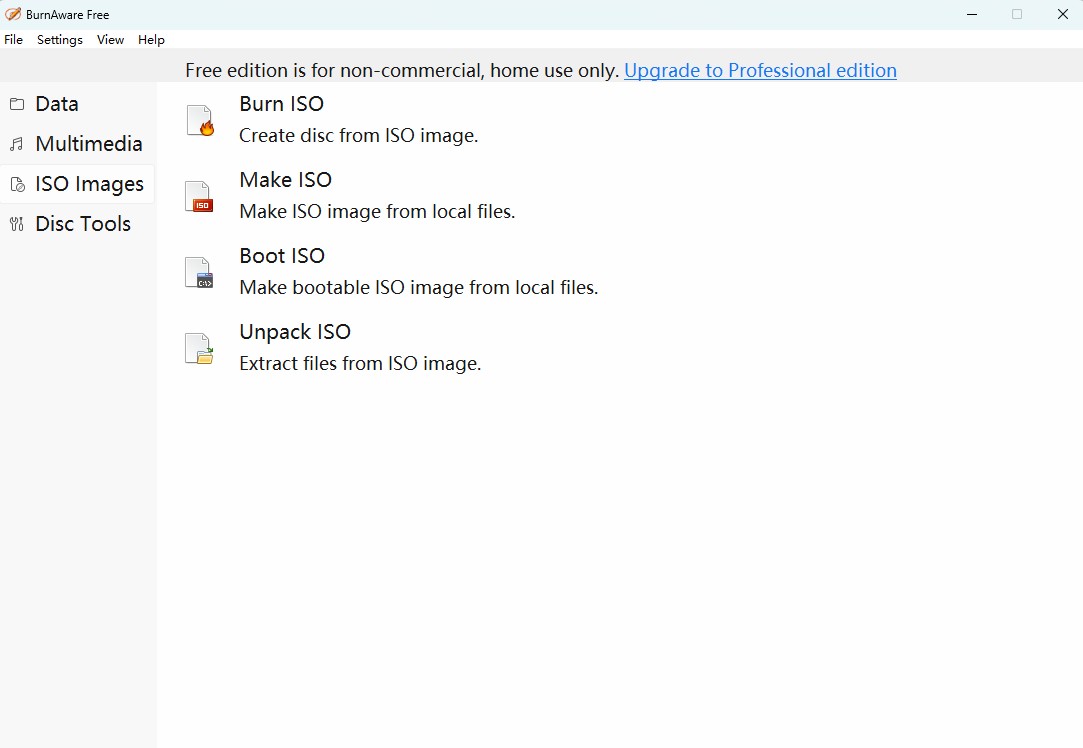
Step 3: Click "Add Files" to select videos, or drag files from Windows Explorer. Supported formats include AVI, MOV, MPG, VOB, MP4, WMV, and MKV. The files are converted to DVD-Video format before burning.
Step 4: Click the "Burn" button to start recording the disc.
💡Note: Some DVD players do not support DVD-RW media. Try a DVD-R disc when compatibility problems occur.
How to Burn a DVD with Built-in Windows Tools
Windows 10 includes two ways to write files without separate DVD burning software: File Explorer and Windows Media Player. Both create data discs, not a DVD-Video structure with menus for a standard set-top player.
File Explorer (Two Write Modes)
File Explorer is Windows' native option. It offers two disc usage modes: "Like a USB flash drive" for adding or removing files and "With a CD/DVD player" for mastering a disc. The second option is generally more compatible across computers and disc drives.

Using the USB Flash Drive Option
Step 1: Insert a writable DVD into the computer. The "Burn a Disc" window should open automatically.
Step 2: Enter a name for the disc.
Step 3: Choose "Like a USB flash drive," then click "Next" to format the disc.

Step 4: After formatting, File Explorer opens the disc. Drag the files or folders you want to copy into the window.
Step 5: Eject the disc when the file transfer is complete. Windows performs the required closing operations before releasing the disc.
Using the CD/DVD Player Option
Step 1: In the "Burn a Disc" window, choose "With a CD/DVD player," then click "Next."

Step 2: Add files to the disc window. Windows displays a message stating that files are waiting to be burned.
Step 3: Open "Drive Tools" in the top menu and select "Finish burning" to open the "Burn to Disc" window.

Step 4: Select an available recording speed, such as 4x or 8x.
Step 5: Click "Next" to burn the files. Windows displays the progress and estimated duration, then ejects the disc when the process finishes.
Windows Media Player
Windows Media Player can build a data DVD from media files through its Burn pane. It is suitable for file storage, but arranging videos in the Burn list does not turn them into a playable movie DVD.
- Open Windows Media Player and select the Burn tab.
- Insert a blank DVD into the writable drive.
- Drag songs, photos, or video files into the Burn list and arrange their order.
- Open Burn options, choose a data disc, and select Start burn.
- Wait for the disc to eject, then open it in File Explorer to confirm that the files were written.
Screen cue: The Burn pane stays on the right side of the player and shows the queued files before writing starts.
Comparative Analysis of All the DVD Burners
Here is a quick comparison of the different ways to burn a DVD on Windows 10.
| DVD burner | Input | Output | Menu templates | Video editing | Playable video DVD | Cost |
|---|---|---|---|---|---|---|
| DVDneXtCOPY DVD Creator | 200+ video input formats | DVD disc, ISO image, DVD folder | Yes, customizable | Basic editing plus subtitle and audio selection | Yes | Paid software |
| DVDStyler | Common video formats supported by its authoring engine | DVD disc and DVD folder | Yes | Menu and title layout controls | Yes | Free, open source |
| BurnAware Free | Files plus prepared VIDEO_TS folders | Data DVD, ISO tools, VIDEO_TS burn | No custom video-DVD menus | No video editor | Yes, from prepared DVD-Video content | Free edition |
| File Explorer | Files and folders | Data DVD | No | No | No | Included with Windows 10 |
| Windows Media Player | Music, photo, and video files | Data DVD | No | No | No | Included with Windows 10 |
Why Your Burned DVD Won't Play (and Fixes)
A burned disc usually fails because its structure, media, finalization, player support, or write speed does not match the playback device. Check those five points before rebuilding the whole project.
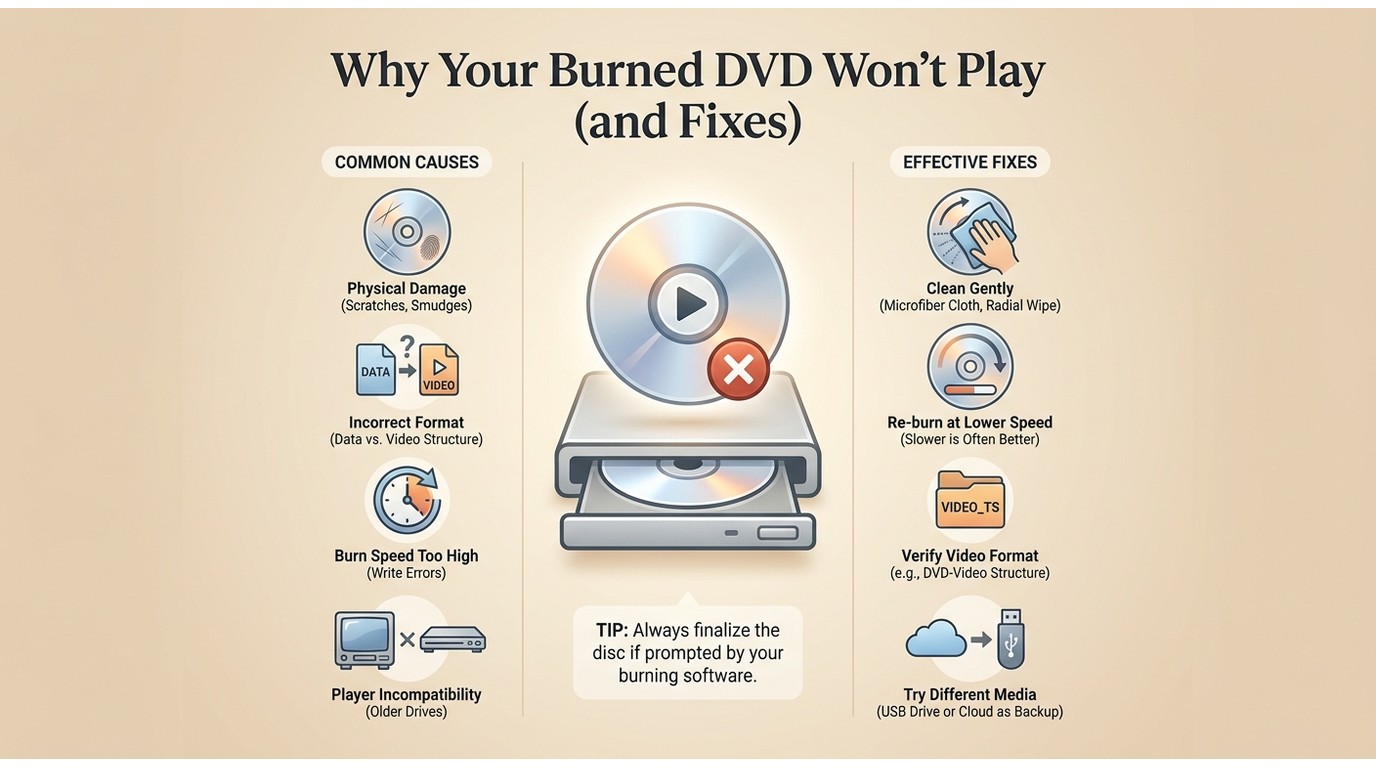
These are the five causes I run into most often.
- You burned a data DVD instead of a video DVD. Rebuild the project in DVD-authoring software so the disc contains the VIDEO_TS structure expected by a set-top player.
- The disc was not finalized. Return to the burning program and finish or close the session. An open session may work in the original computer but fail elsewhere.
- The player rejects DVD-RW media. Write the project to DVD-R, especially when testing an older player.
- The player does not support the selected disc format. Check the player's label or manual, then match the blank media and video standard to that device.
- The write speed was too high for the disc or drive. Select a lower available speed and burn a fresh disc. Avoid reusing a disc that already produced read errors.
After each fix, test the first menu, one chapter jump, the selected audio track, and the subtitles. Those checks reveal authoring problems faster than watching the entire disc.
FAQs
Yes. File Explorer and Windows Media Player can write a data DVD, but neither creates the DVD-Video menus and file structure used by a standard set-top player.
Insert a blank disc, right-click the ISO file, and choose Burn disc image. Select the writable drive, start the burn, and use the verification option when the source or blank media is important.
Conclusion
DVDneXtCOPY DVD Creator is my usual pick for menu-driven playable video DVDs. DVDStyler covers the same authoring goal for readers who prefer a free tool, while BurnAware, File Explorer, and Windows Media Player make more sense for data or prepared disc content.
Choose the output before choosing the software: use a data DVD for file storage, or author a playable video DVD when the disc must open like a movie in a set-top player.
 Luna MillerAug 13, 2026
Extract DVD Subtitles to SRT in 2026: 8 Tools and OCR Tips
 Luna MillerAug 13, 2026
Standard DVD Case Dimensions: 7.48 × 5.31 Inches + Cover Size
 Luna MillerAug 11, 2026
Can PS4 Play DVDs? How to Play DVD & Blu-ray on PS4
 Luna MillerAug 11, 2026
Convert DVD to AVI in 2026: Codecs, Methods, and Playback Fixes
 Steven VanceAug 11, 2026
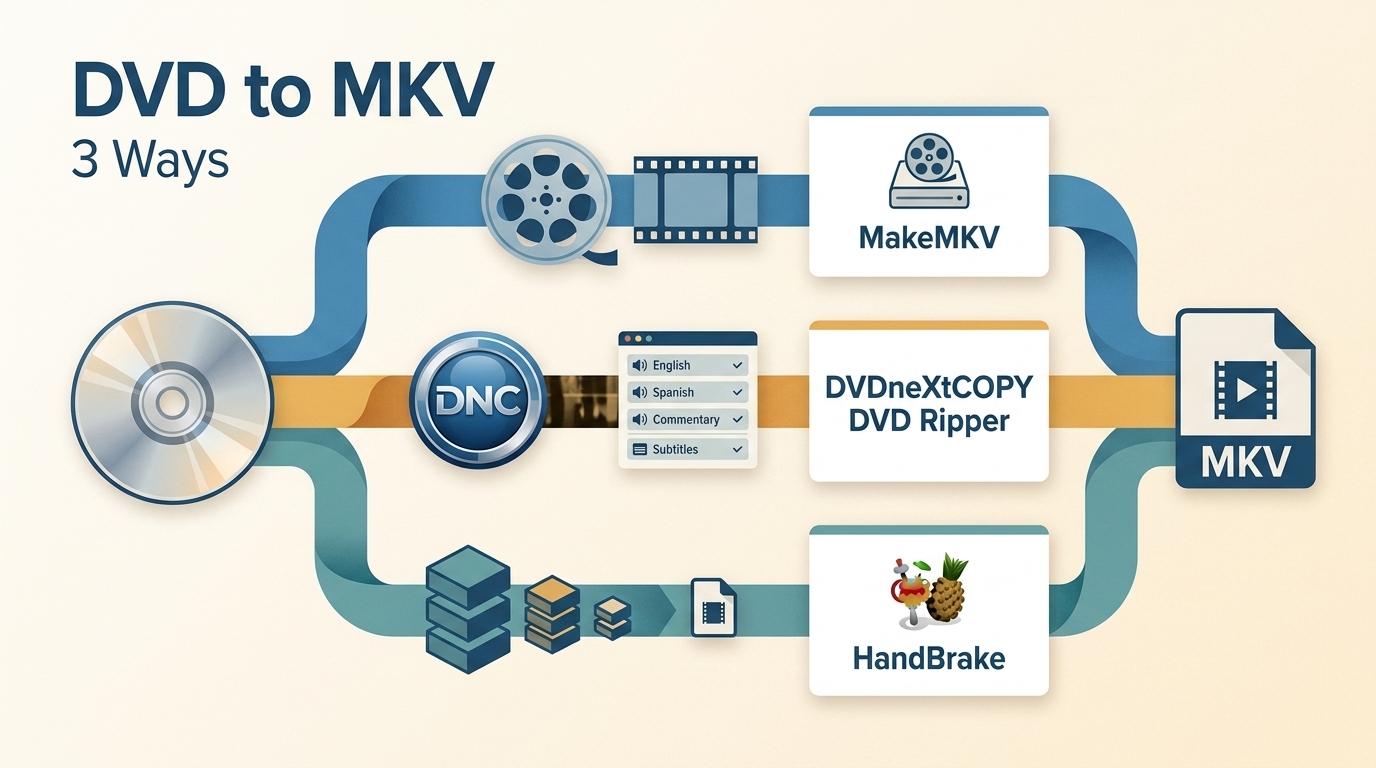
Convert DVD to MKV in 2026: Lossless Remux or Smaller Files
 Luna MillerAug 7, 2026
How to Copy a DVD on Mac: Save It to a Hard Drive, Disc Image, or MKV